How to Install Android Apps on Chromebook
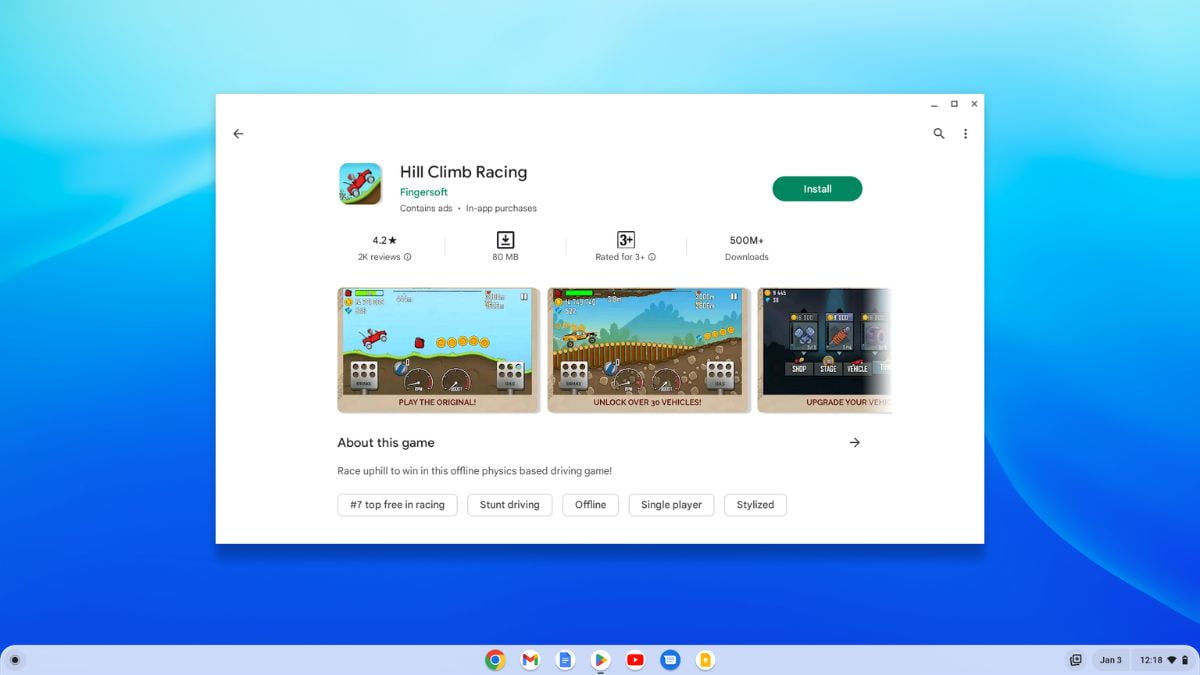
Looking to enhance the power and flexibility of your Chromebook? If yes, you can install Android applications on your Chromebook from the Google Play Store. It offers thousands of Android apps for your Chromebook.
However, to use Android applications, you must ensure that your Chromebook has support for Android and the Google Play Store. Nowadays, all the latest Chromebooks come with Android app support. Here’s how to install and run Android apps on a Chromebook. So, let’s dive into it.
Check for Google Play Store Support
Before we begin the Android app installation process, let’s ensure that your Chromebook supports Android by checking for Google Play Store compatibility. To do so, follow these steps:
Step 1: Open the Settings app.
Step 2: Here, click on the Apps option from the left pane and select the Manage Google Play Preference option.
Step 3: If it is not enabled, you can click on the Turn On button.
Now, you are ready to enjoy thousands of Android apps on your Chromebook. So, let’s discuss how to do it. However, if you are not getting Google Play Store support then try to update your Chromebook to the latest version of Chrome OS.
How to Install Android Apps on Chromebook
Once you have enabled the Google Play Store, you can use it to install any Android application on your Chromebook. It is very simple.
Here are the steps you can follow:
Step 1: Click on the App Launcher icon to open the app drawer.
Step 2: Here, look for Google Play Store and click on it to open. To use the Google Play Store, you need to set up your Chromebook with a Google account.
Screenshot not in the archive: Open Google Play Store
Step 3: It will open the Google Play Store. Here search for the app you want to install on your Chromebook on the search option. Or you can browse the categories to find the app.
Screenshot not in the archive: Google Play Store Interface
Step 4: For instance, let’s say I want to install the game Hill Climb Racing. I will search for it and click the Install button to download and install the app on your device. Now, wait for the process to complete.
Screenshot not in the archive: Install App from Google Play Store
Step 5: Once the installation process is complete, you will find the app in your App drawer. From there, you can open any installed apps on your Chromebook.
Screenshot not in the archive: Opening Android App
That’s it! This is how you can install Android apps on your Chromebook. The process of installing Android apps on your Chromebook unlocks a world of possibilities and productivity.
How to Manage Your Android Apps on Chromebook
You may already know how to install an Android application on your Chromebook, but you might be unsure about how to manage the installed applications on your device. Don’t worry – this guide will take you through the process step by step. Whether you’re interested in uninstalling Android apps or managing notifications and permissions, we’ve got you covered.
To effectively manage your installed Android apps, simply follow the steps outlined below:
Step 1: On your Chromebook, open Settings.
Step 2: For that, click the Quick Settings Panel in the lower right corner of your screen. Then click on the gear icon to open the settings.
Screenshot not in the archive: Open Settings
Step 3: The settings window will appear. Select the Apps tab on the left of your screen. Then from the right of your screen select the Manage your apps option.
Screenshot not in the archive: Manage Android Apps on Chromebook
Step 4: Here, you will get a list of Android apps installed on your Chromebook. Select the app you want to manage from the list.
Screenshot not in the archive: List on Install Apps on Chromebook
Step 5: For instance, if you want to manage the YouTube application, select it. In the next window, you will find all the options to manage notifications and permissions of the app.
Step 6: If you want to uninstall the Android app, click on the Uninstall button and the option will remove the app from your Chromebook.
Screenshot not in the archive: Manage App Permissions
Note: You can also uninstall the app from the Google Play Store. Click on the profile icon and go to the Manage apps and Devices section.
Update Android Apps
It is also important to update your Android apps. To update your installed Android apps to the latest versions, follow these steps:
Here are the steps you can follow:
Step 1: Open the Google Play Store app.
Step 2: Here, click on your profile icon and click on the Manage apps & device option. Here, you get a listed application available for updates.
Screenshot not in the archive: Managing Android Apps on Chromebook
Step 3: Select the Manage tab. Then, click on the Updates Available option and click the Check for Update button.
Screenshot not in the archive: An Arrow Poning to Manage and Clicking Check for Updates Link
This will update all your outdated Android applications to the latest version, allowing you to enjoy the latest Android application features on your Chromebook.
Conclusion
That’s it! This is how you can install and manage Android apps on your Chromebook. You can install a wide range of applications, from productivity tools to entertainment and creativity apps. The Google Play Store truly opens up a world of possibilities.
We hope that this Chromebook guide has been helpful to you. Furthermore, if you have any suggestions or doubts, please feel free to leave them in the comments section. We are always here to assist you.

You did it!
You reached the end of this guide. Want to learn one more thing?

Written in 2022 for the ChromeOS and Chrome versions of that time, so menus may look different today. Restored from the Internet Archive copy of 2024-10-04. 10 of 10 screenshots were not saved by the archive; their captions are kept in the text.